

In honor of the Baltimore Magazine January Beauty Issue I will be doing a week of beauty related posts on my blog this week! Starting the week of beauty on the blog with my weekly ritual of Self Care Sunday!
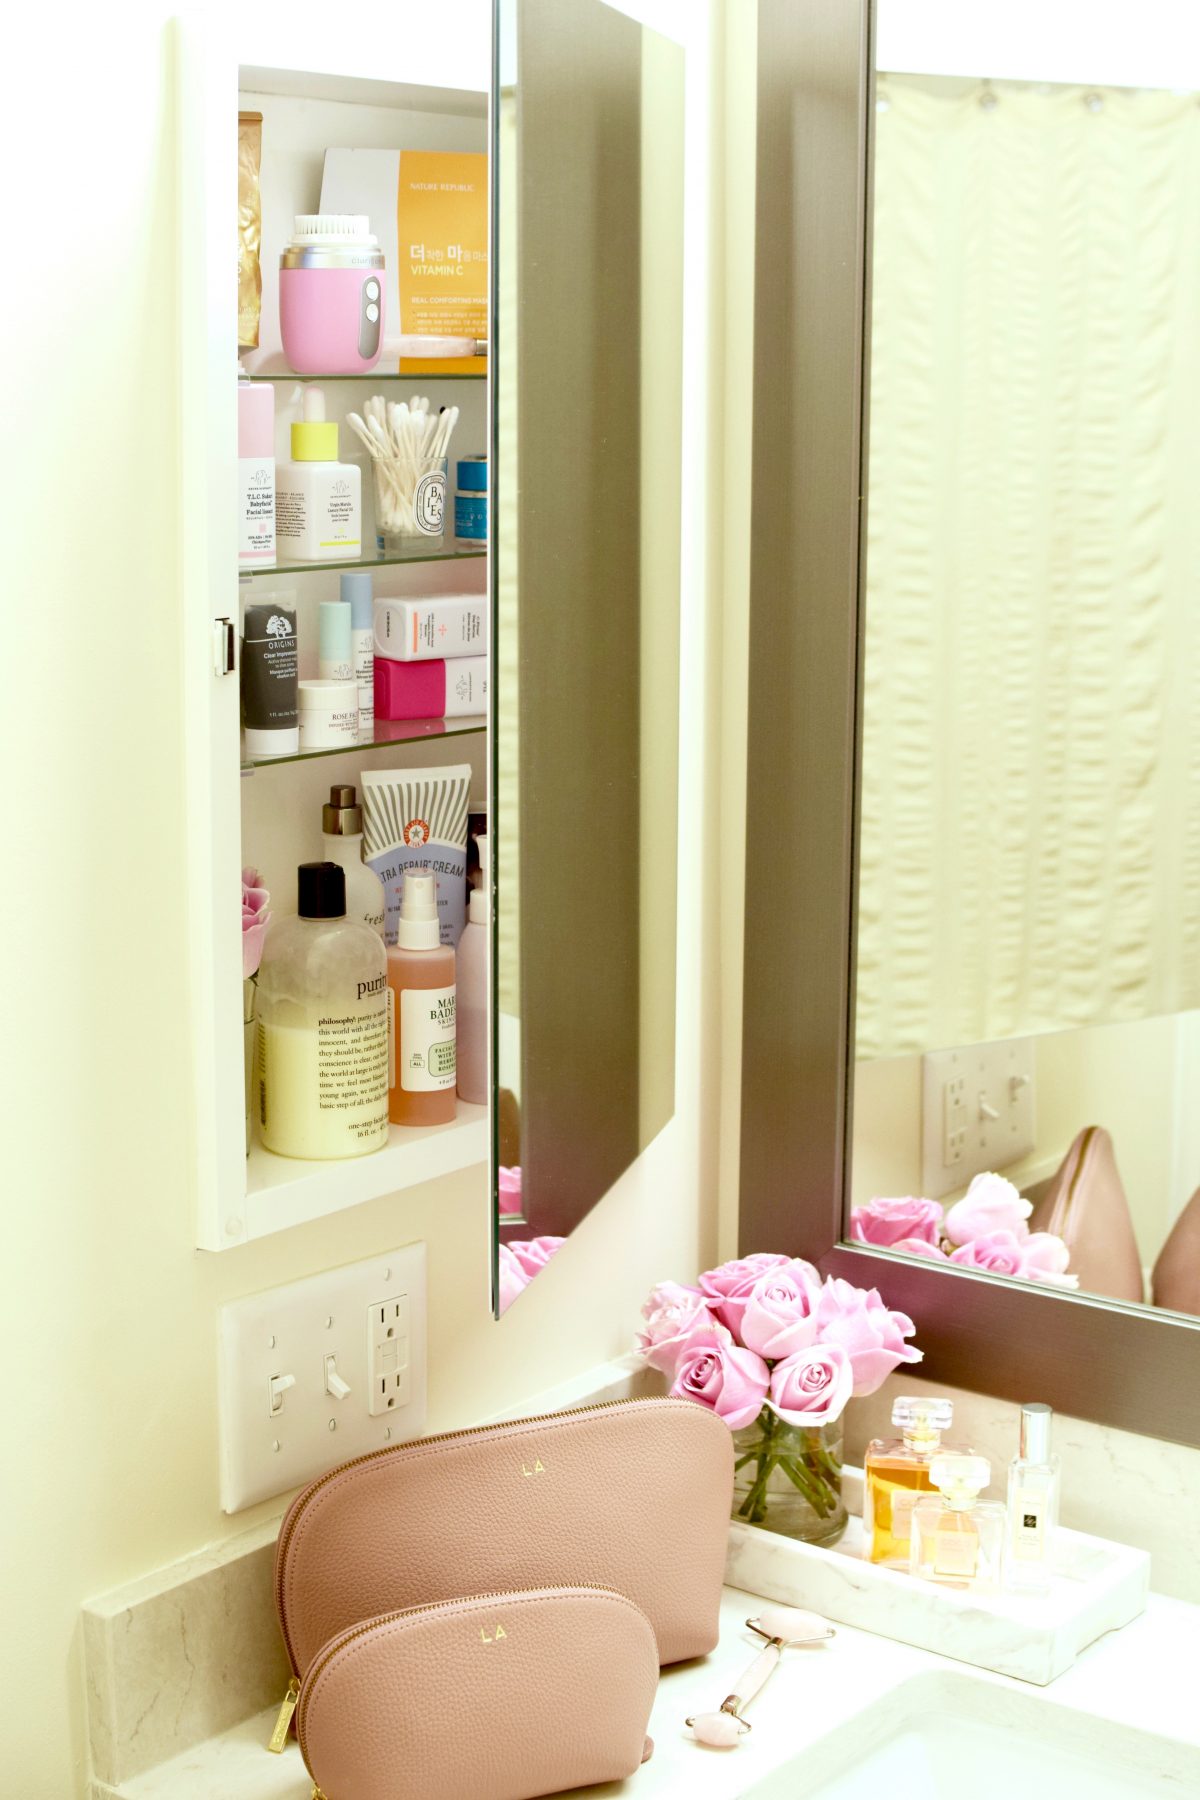
I love getting facials as much as the next girl however it’s not always in my budget to drop $150-$200 every month to get pampered. Therefore I typically get a professional facial once a season. Facials are great for your skin since they exfoliate, open your pores, cleanse, balance, and rejuvenate your skin. I’ve developed an easy 10 step routine to pamper yourself at home which is cost-effective and great for your skin! I normally give myself a facial on Sundays hence Self Care Sunday to start the week off fresh!
Before sharing my routine I want to share my skin type. My skin type changes based on the season. I have normal skin, and occasional oily skin in my t-zone during spring-fall. In the winter I am a bit on the dry side and use products that are extra moisturizing to keep my skin hydrated. It is important to understand your skin type and find products that work for your specific skin type.
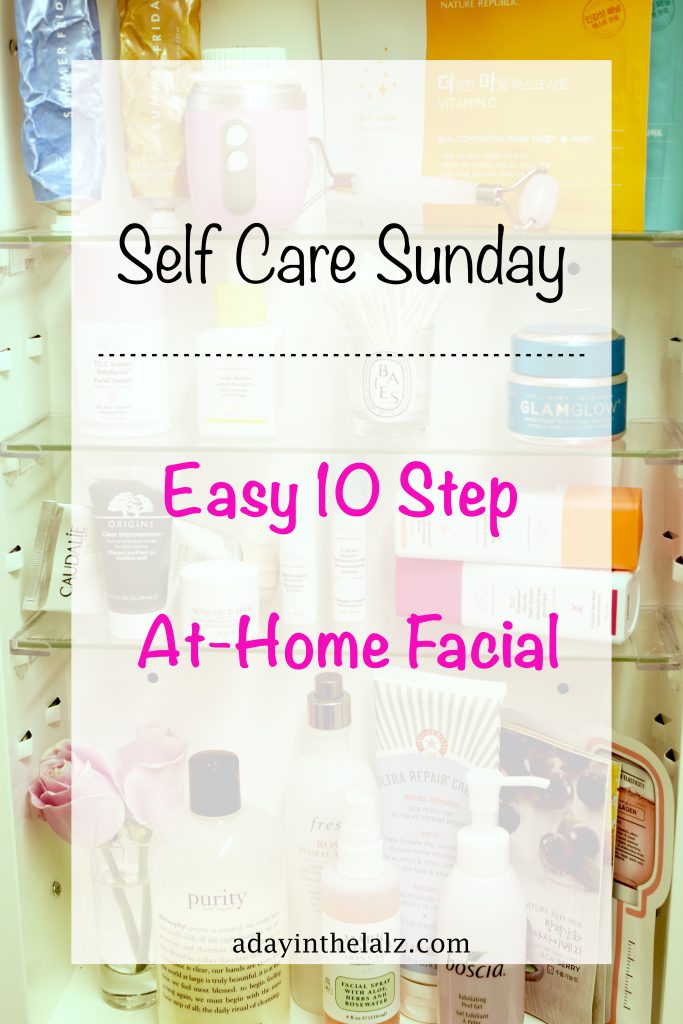
Here’s how you can give yourself an easy at home facial in just 10 steps:
Step 1: Cleanse
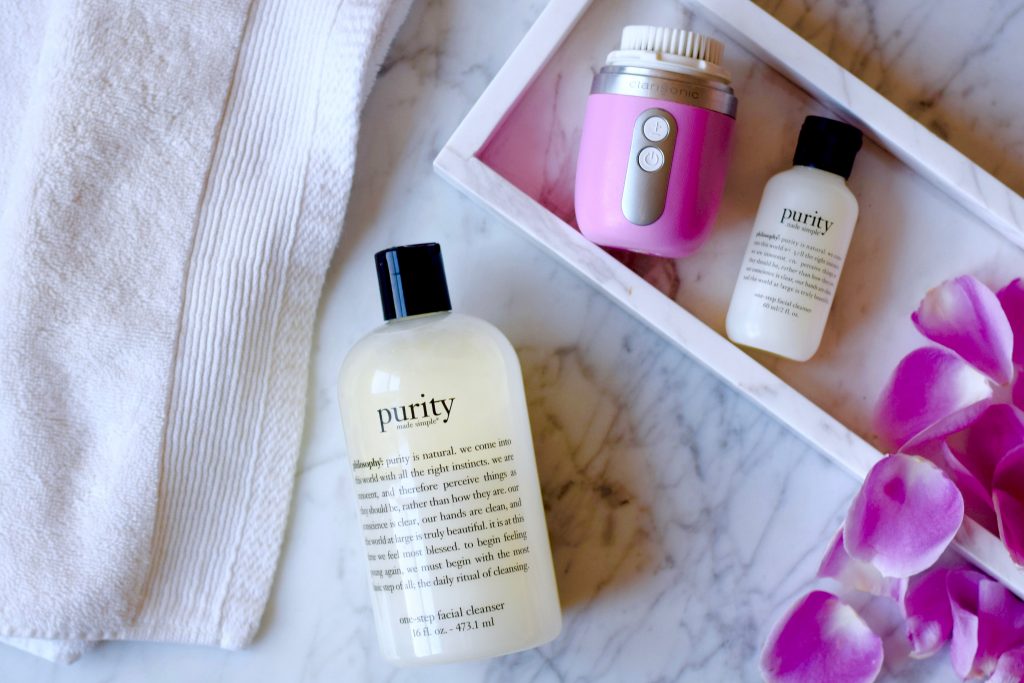
The first step is to cleanse. I start by washing my hands and then proceeding to remove any makeup I have on with a Neutrogena Makeup Remover Towelette. Wash your face with a cleanser. I have been using philosophy purity cleanser since college and it is gentle on my sensitive skin. I use a clarisonic device when cleansing my face and I truly believe using a clarisonic has changed my skin. I started using the clarisonic device in 2012 and it has transformed my skin. I describe it to people as an electric toothbrush – but for your face. The device gets deep into your skin and removes all the dirt and makeup. It’s an investment but one that really pays off in my opinion.
Tip: This cleanser is great for all skin types.
Step 2: Steam
Steaming your face is an important step as it opens your pores, softens blackheads making them easier to remove, and loosens any buildup of dirt for a deeper cleanse. There are various ways to steam your skin. I personally take a shower after I cleanse by face which does the trick. As soon as I get out of the shower I put my robe on and continue with the facial steps. Another simple method is to wet a wash cloth with warm water and placing it on your face for five minutes. There are a few facial steam devices, such as this one, that are inexpensive and easy to use.
Step 3: Exfoliate
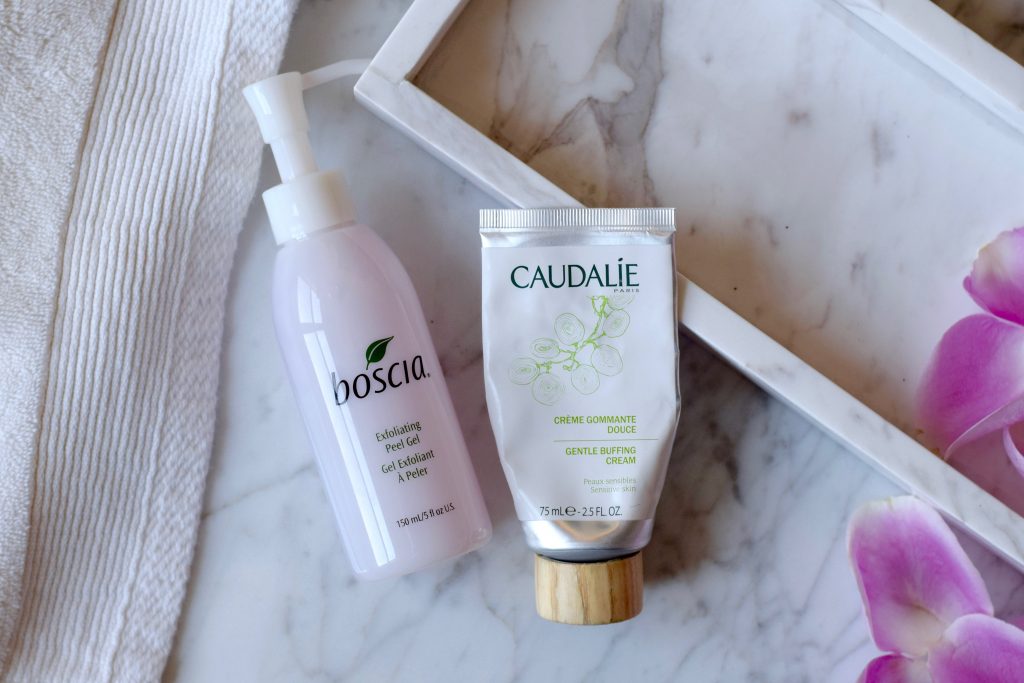
Exfoliating is essential to removing dead skin cells. I alternate between two exfoliating products – boscia exfoliating peel gel and caudalie gentle buffing cream. The boscia peel gel is so fun to use because as you massage the product into your skin you can actually see the dead skin coming off, it’s so satisfying! The buffing cream is gentle and a great exfoliating product for sensitive skin. For an extra clean I apply the buffing cream to my skin and buff it our using my clarisonic device.
Step 4: Face Mask

After exfoliating it’s time to apply a mask. I’m currently using these masks and absolutely loving them: Drunk Elephant T.L.C. Sukari Babyfacial, Summer Fridays Overtime Mask, Origins Clear Improvement Active Charcoal Mask, Fresh Rose Face Mask and Glamglow THIRSTYMUD Hydrating Treatment. Depending on the season and what my skin needs at the time I choose a mask. When my skin is dry and in the need of hydration I use the Fresh Rose Face Mask or the Glamglow THIRSTYMUD Hydrating Treatment. The Summer Fridays Overtime Mask is an easy ten minute mask that is super clarifying and gentle on the skin. When my skin is in need of a deep clean I love using the Drunk Elephant T.L.C. Sukari Babyfacial and Origins Clear Improvement Active Charcoal Mask.
Step 5: Toner
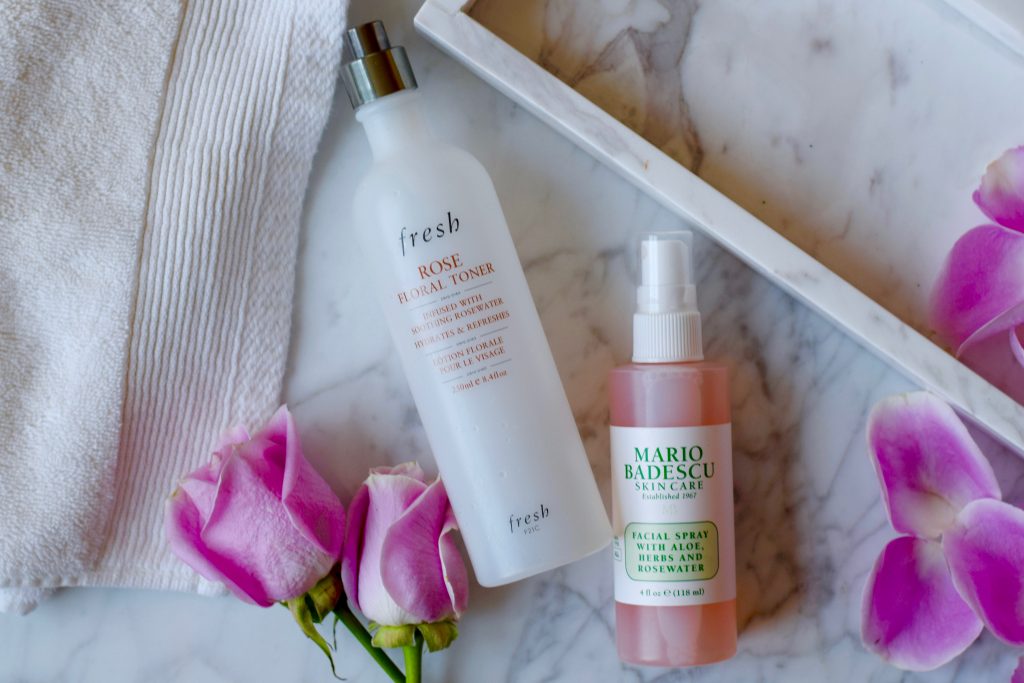
Spritz some toner on cotton pad and apply to your entire face. The purpose of a toner is to restore your skin’s pH balance and help close pores and tighten them after cleansing. I am obsessed with Rose based toners as they are gentle on my skin and don’t dry my skin out. My top two favorite toners are fresh rose floral toner and mario badescu facial spray.
Step 6: Sheet Mask

Sheet masks are all the rage now. I really got into sheet masks after my trip to South Korea. The reason sheet masks are so popular is because they are soaked in serum-like formula targeted to moisturize the skin. I bought a ton of sheet masks when I was in Korea after having a skin consultation at a beauty boutique. There are various types of masks and all serve different skin concerns. I love browsing the Sephora sheet masks section as they offer a wide variety of sheet masks.
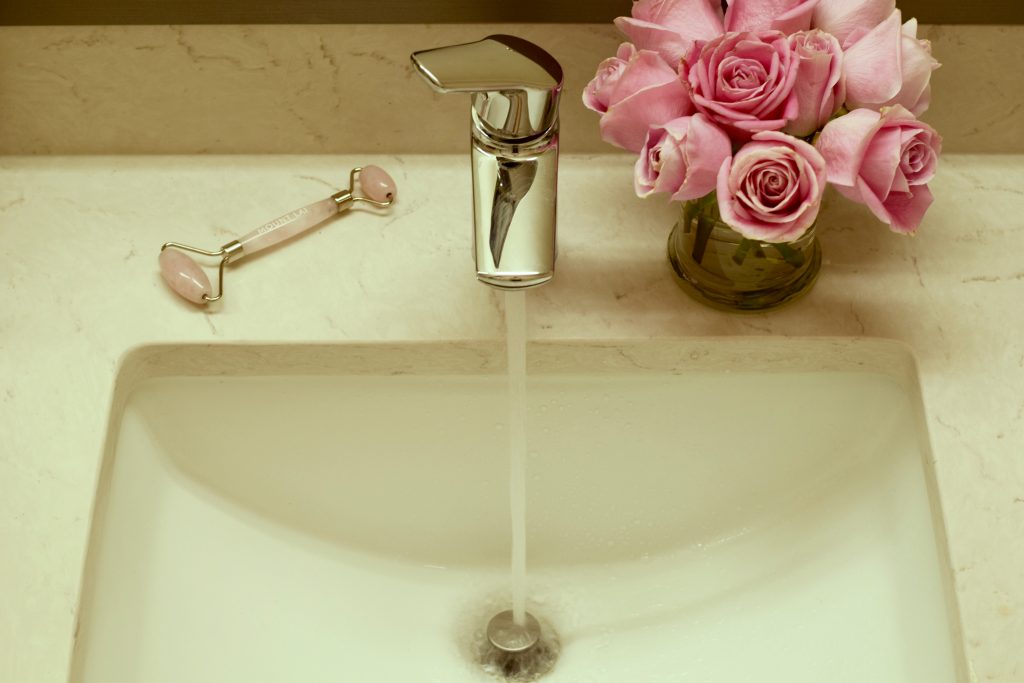
Tip: As the sheet mask is on your skin use a facial roller to massage and push the serums into your skin.
Step 7: Treatment
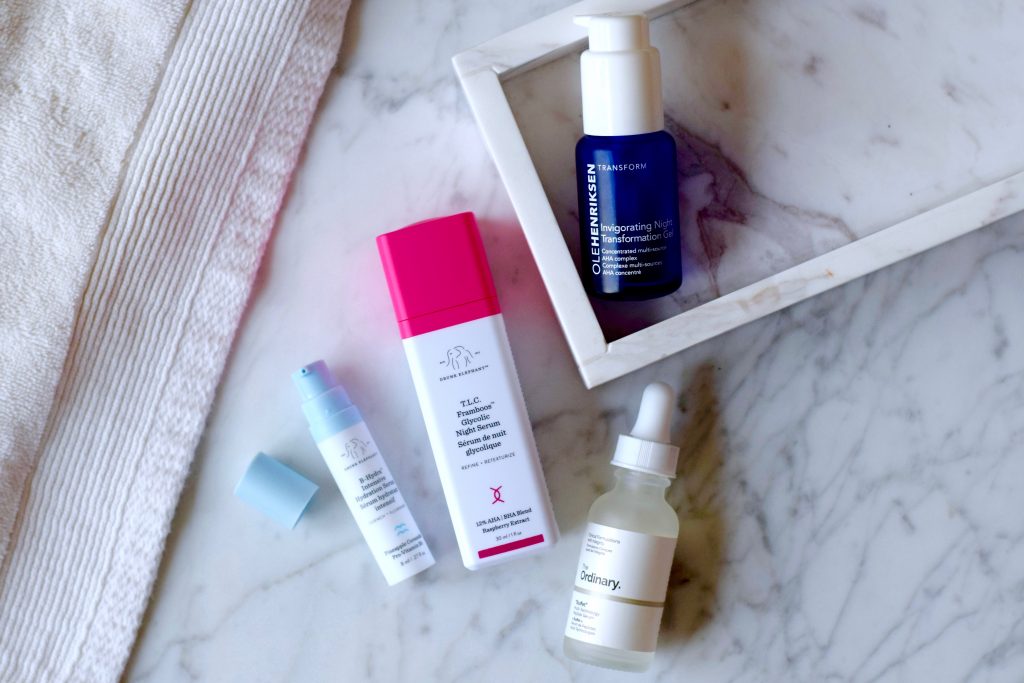
This step is to treat and problem areas – dark circles, acne, sun spots. I have a variety of products that I use for this step, it just depends on how my skin is acting. My favorite serums include: drunk elephant T.L.C. Framboos Glycolic Night Serum, The Ordinary Buffet, Drunk Elephant B-Hydra Intensive Hydration Serum, and OLEHENRIKSON Invigorating Night Transformation Gel.
Step 8: Eye Cream
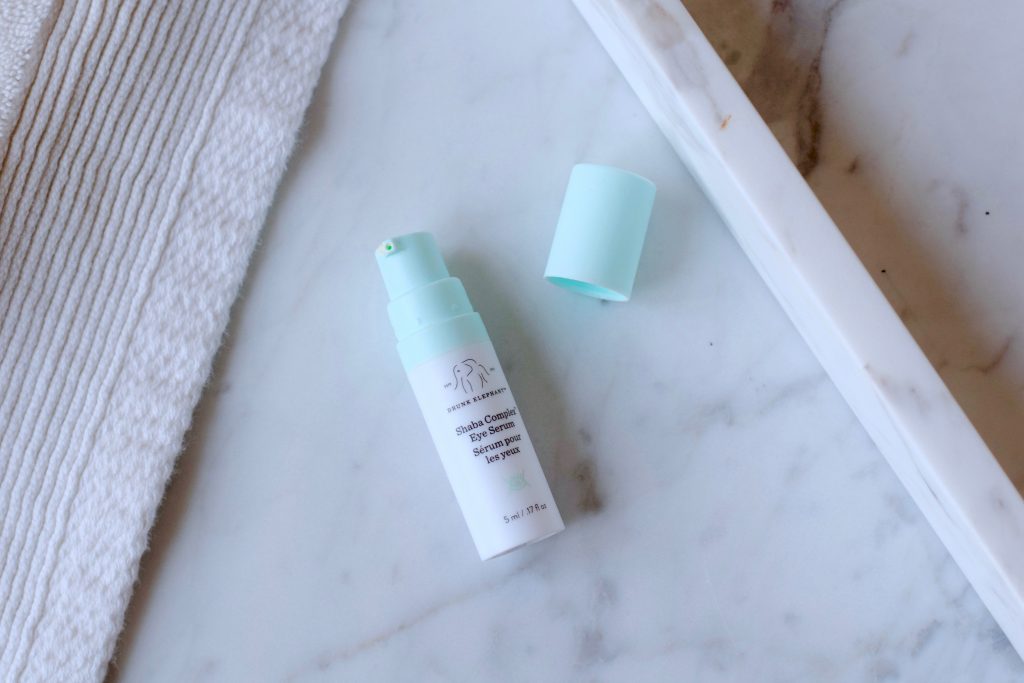
Time to treat the eyes. I have not found an eye serum or eye cream that I swear by. I use some here and there and switch it up every few months. I’m currently loving the Drunk Elephant Shaba Complex Eye Serum after receiving a sample of it. The formula is silky smooth and a little bit goes a long way.
Tip: Keeping your eye cream in the fridge helps with minimizing puffiness for under eye bags.
Step 9: Face Oil
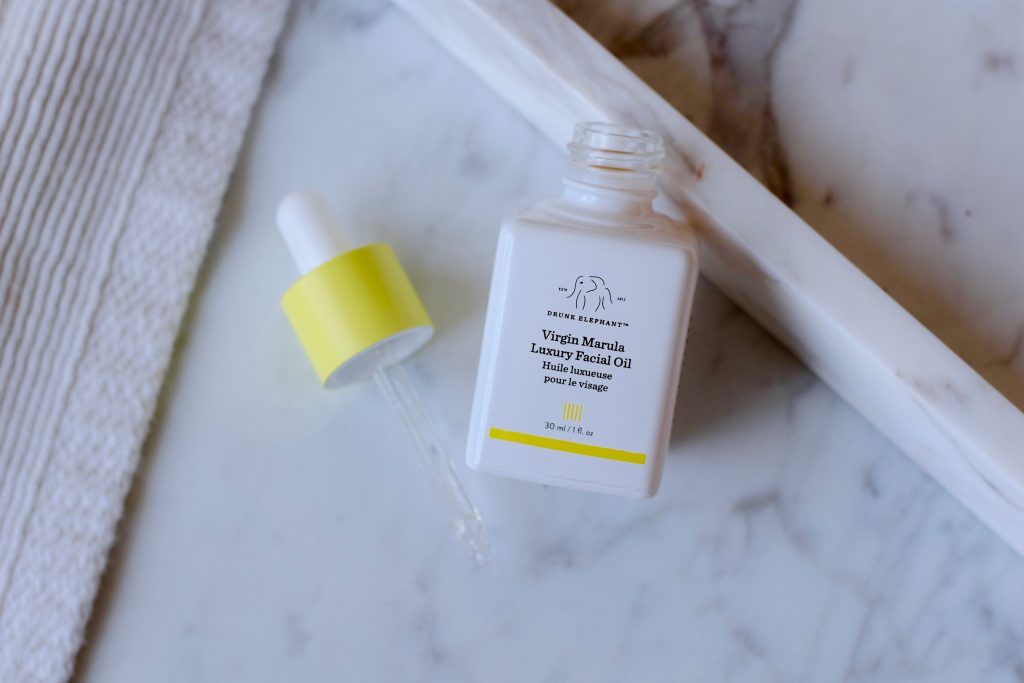
I finally jumped on the face oil bandwagon. I’ve heard a lot about them however didn’t know where to start and which oil would be best for my skin. Thankfully one of my favorite bloggers that I follow, Kat Tanita, did a ton of testing and research on face oils. After reading her post I decided to try out Drunk Elephant Virgin Marula Facial Oil. This face oil is extremely moisturizing and makes my skin feel super hydrated. Just 3 drops of this product and your skin will thank you!
Step 10: Moisturize

Last but not least, time to moisturize. At the end of a facial it’s important to use a moisturizer that will keep your skin hydrated. Although the Summer Fridays Jet Lag Mask is a mask and not a moisturizer, I occasionally use it as a last step moisturizer since it’s a no rinse mask and provides extra hydration. This stuff is magic in a blue tube!! My all time favorite super moisturizer is First Aid Beauty Ultra Repair Cream. I’ve been using this cream, especially during the winter, since college. When I lived in Michigan the winters were harsh and my skin was a mess, this cream was a lifesaver. I can’t say enough good things about it.
I hope these steps are easy enough to get you to do some Self Care Sunday and give yourself an at home facial!


Leave a Reply